
Definition of a dumbbell rack with weights
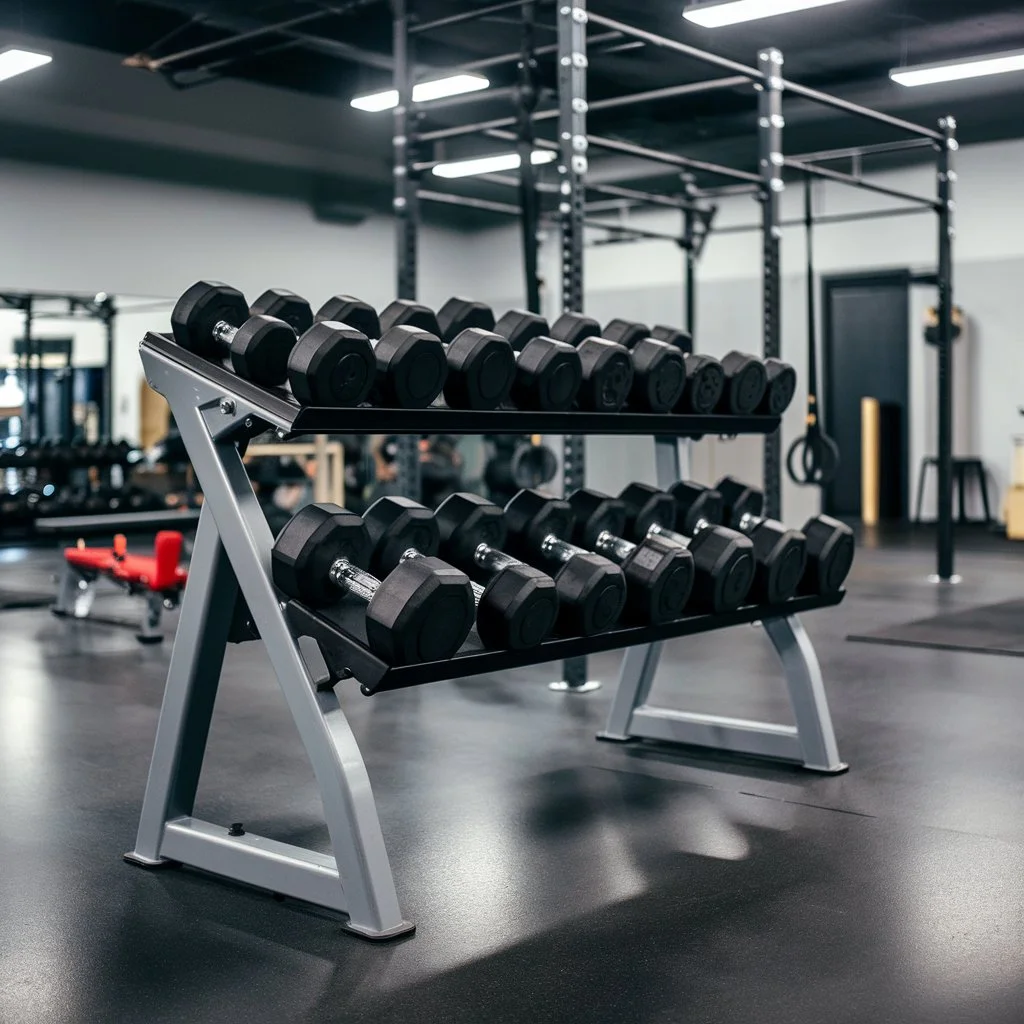
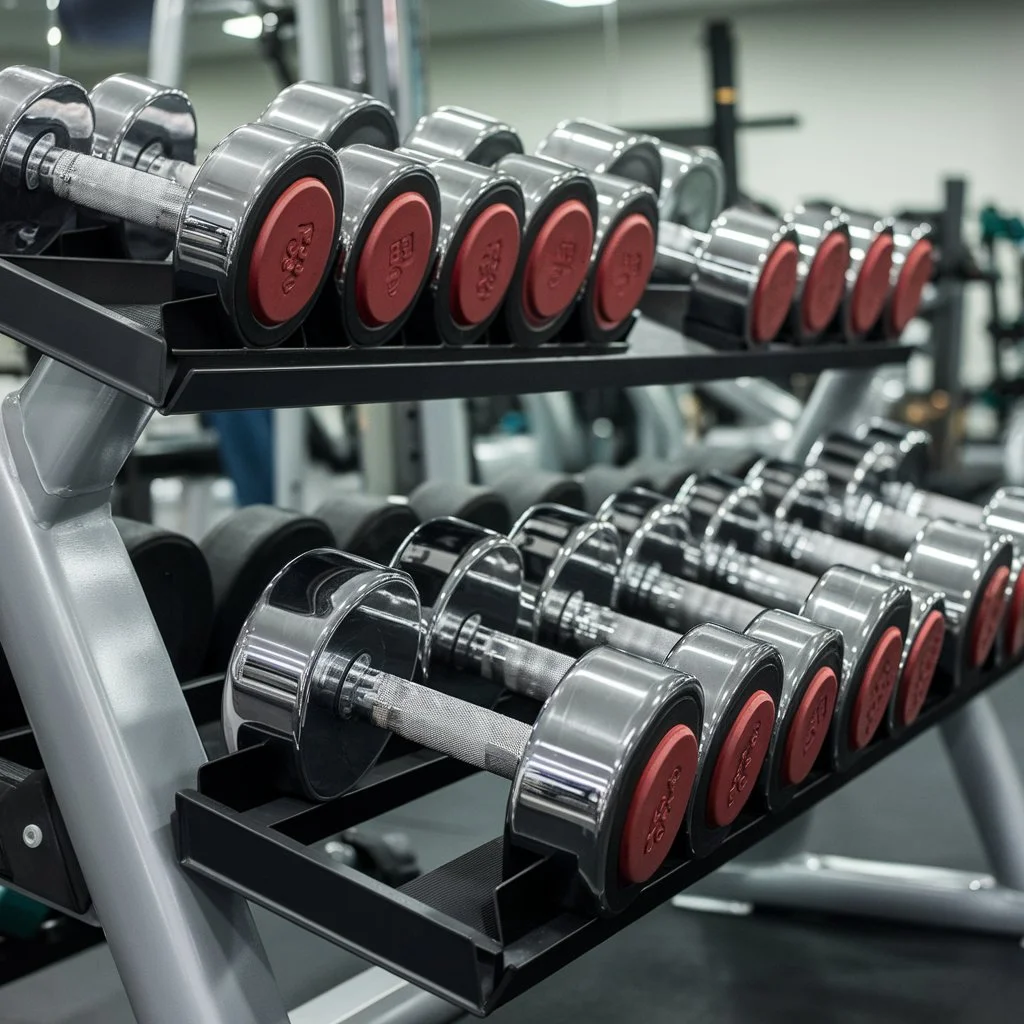
1. A dumbbell rack with weights is a storage solution. It is designed to organize and store dumbbells and weight plates for strength training.
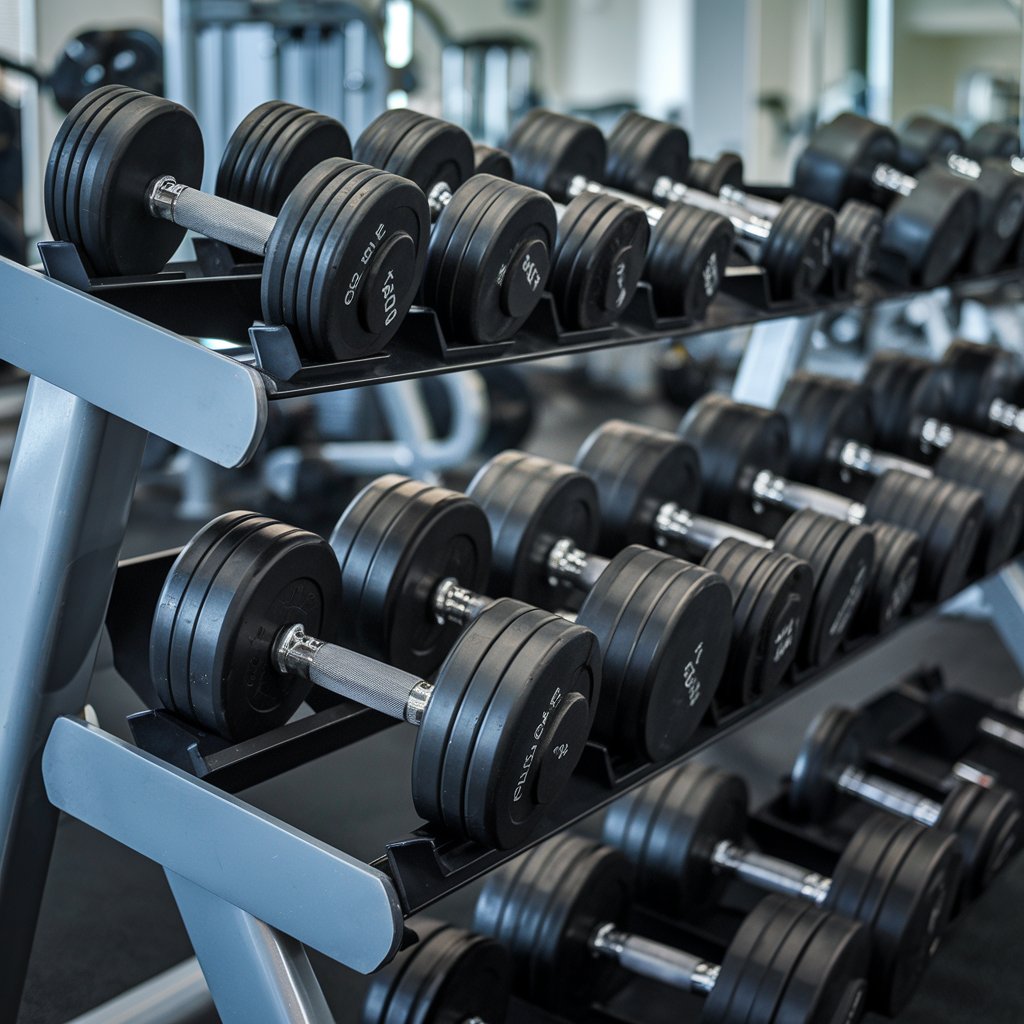
2. It typically consists of a sturdy rack structure with designated slots or shelves to hold the weights securely in place.
3. Dumbbell racks come in many sizes, shapes, and materials. They accommodate different types and amounts of weights.
Importance of organizing and storing weights
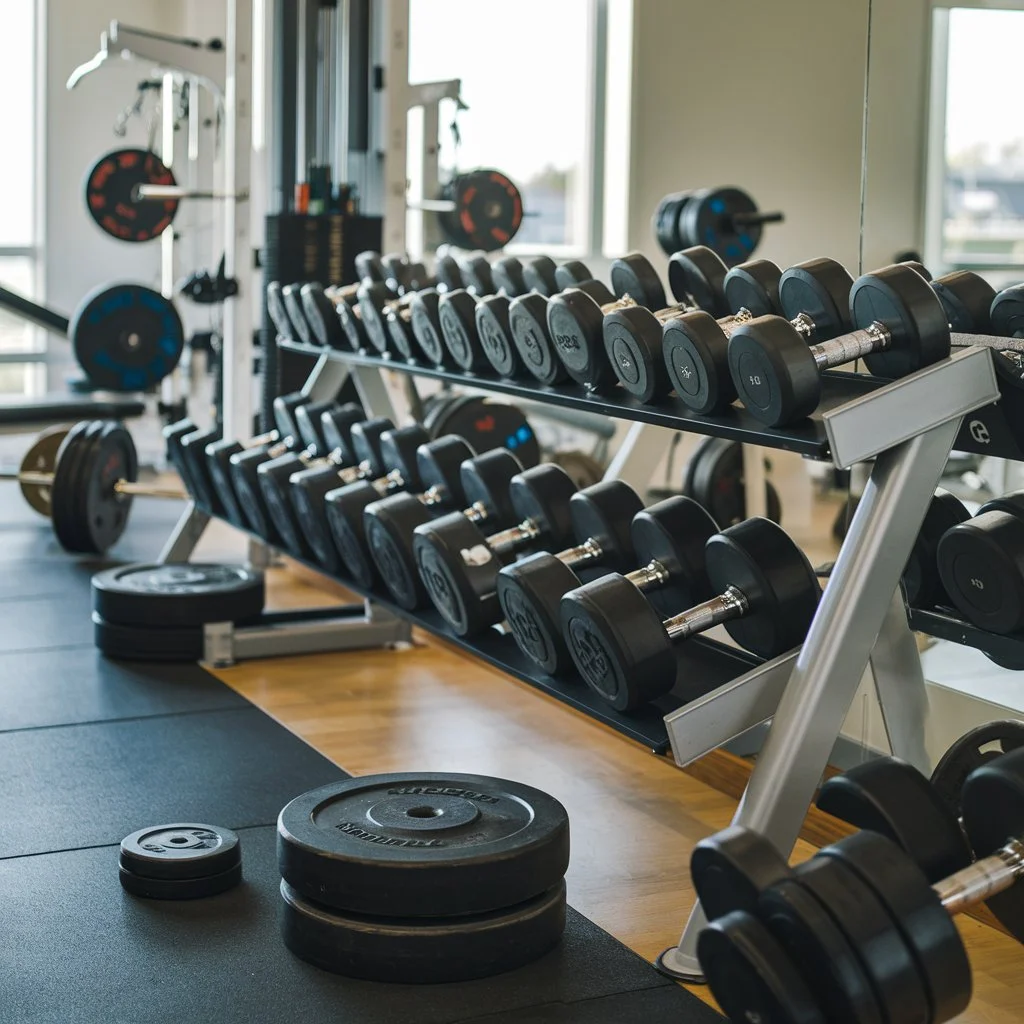
1. Efficient storage helps keep the workout space tidy and free of clutter, creating a safer environment for exercise.
2. Ordered weights make it easier to find and access the desired equipment during workouts. They save time and make the exercise better.
3. Proper storage helps prolong the lifespan of the weights by preventing damage and reducing wear and tear.
4. It promotes safety by minimizing the risk of tripping or injury caused by scattered weights on the floor.
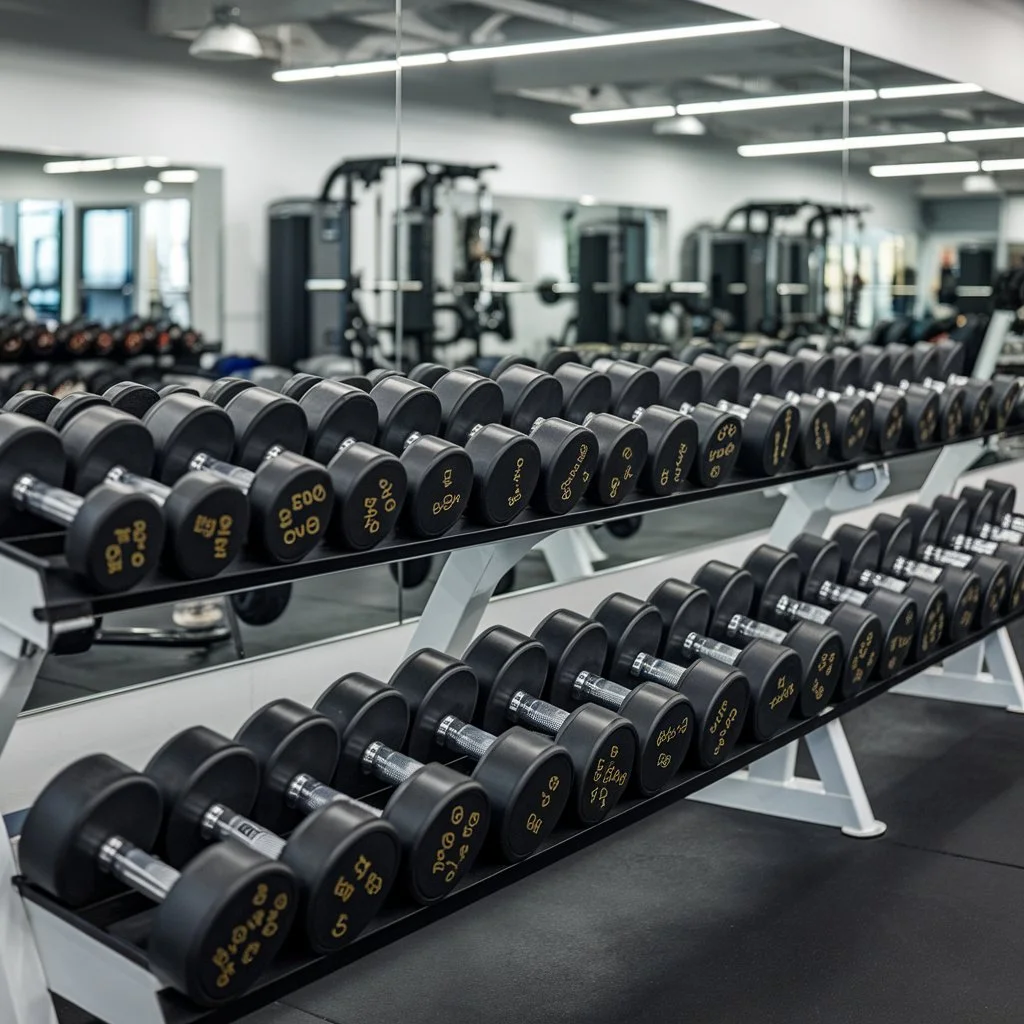
5. A tidy dumbbell rack looks professional. It makes a gym or home gym look better. This boosts motivation and enjoyment of workouts.
Components of a Dumbbell Rack
Rack structure
1. The rack structure serves as the framework that supports and organizes the weights.
2. It is usually made to bear the weight of the dumbbells and weight plates. This ensures stability and durability during use.
3. The rack structure has sturdy legs or base. It also has vertical or horizontal beams and crossbars for added support.
Types of racks (e.g., vertical, horizontal)
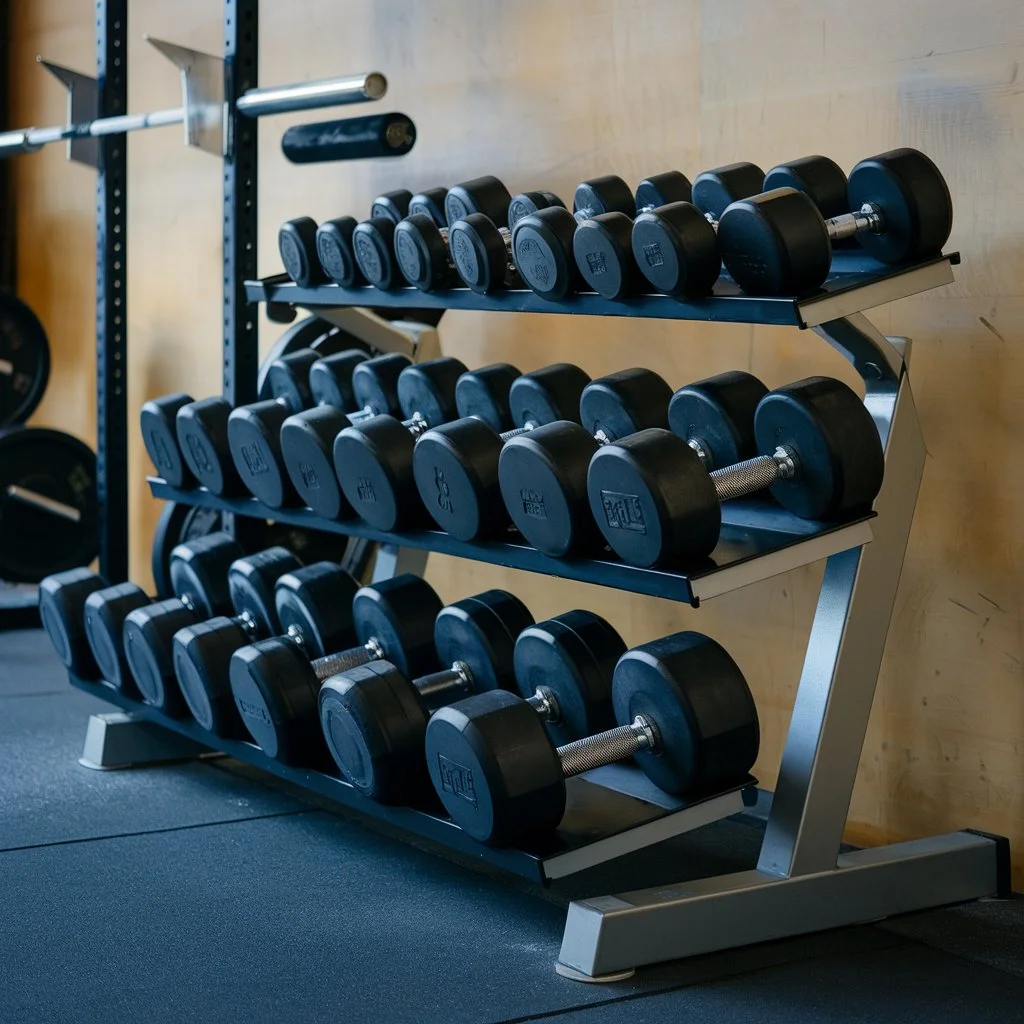
1. Vertical racks hold dumbbells upright. Each slot is above the other. Vertical racks are ideal for saving floor space and providing easy access to weights.
2. Horizontal racks lay the dumbbells flat. They are usually in a staggered or stepped arrangement. They are suitable for smaller spaces and offer a compact storage solution.
3. Some racks combine both vertical and horizontal storage. They are versatile and can hold different types of weights.
Material (e.g., metal, plastic)
1. Metal racks: Metal dumbbell racks are popular for their strength, durability, and stability. They are typically constructed from steel or iron, providing a sturdy support system for heavy weights.
2. Plastic racks are a lightweight and cheap alternative to metal ones. They are often made from high-quality, durable plastics and are suitable for lighter weight sets or home gyms with limited space.
Types of Weights
Dumbbells
1. Fixed-weight dumbbells are individual weights. Each one has a specific weight value attached. They come in various weights. The weights range from light to heavy. They are common in gyms and home workouts. People use them for targeted strength exercises.
2. Adjustable dumbbells have a handlebar with removable weight plates. These let users pick the weight they want for their workout. They offer versatility and space-saving benefits, making them popular for home gyms with limited space.
Weight plates
1. Standard weight plates have a 1-inch diameter center hole. They are made to fit onto standard dumbbell handles and barbells. They come in various weights. The weights are usually from 2.5 to 45 pounds. People often use them for traditional strength training.
2. Olympic weight plates have a 2-inch diameter hole. They are made for use with Olympic barbells. They are typically heavier and larger in diameter than standard plates, with weights ranging from 2.5 pounds to 100 pounds or more. Olympic weight plates are common in powerlifting and Olympic weightlifting competitions. They are also used in commercial gyms and advanced strength programs.
Features and Benefits Dumbbells Rack
Space-saving design
1. Maximizes floor space utilization by vertically stacking or compactly arranging weights.
2. Ideal for gyms or home setups with limited space, allowing for efficient use of available area.
3. Enables users to organize a variety of weights in a small footprint, promoting a clutter-free workout environment.
Organization and accessibility
1. Facilitates systematic arrangement of dumbbells or weight plates, ensuring easy identification and retrieval.
2. Helps maintain a tidy workout space by preventing weights from being scattered or misplaced.
3. It improves workouts. It does this by cutting time spent searching for specific weights. This makes training sessions better.
Durability and stability
1. It is made from sturdy materials. These include heavy-duty steel or reinforced plastic. This ensures long-term reliability.
2. Provides a stable platform for storing weights, minimizing the risk of tipping or wobbling during use.
3. It is designed to hold many dumbbells or weight plates. It offers peace of mind about equipment safety.
Safety features (e.g., non-slip grips)
1. Incorporates non-slip surfaces or grips on weight slots to prevent weights from shifting or falling.
2. Reduces the likelihood of accidents or injuries caused by slippery or unstable weights.
3. Enhances user confidence and comfort during workouts, promoting a safer exercise experience overall.
Considerations Before Purchasing
Available space
1. Evaluate the dimensions of the designated area where the dumbbell rack will be placed.
2. Consider factors such as ceiling height. Also, consider the surrounding furniture to ensure enough clearance for the rack.
3. Pick a rack size and layout that fits in the space. It should not block movement or access.
Weight capacity
1. Determine the total weight of the dumbbells or weight plates that will be stored on the rack.
2. Select a rack with a weight capacity that exceeds the combined weight of the heaviest set of weights to be stored.
3. Consider future weight additions or upgrades. Ensure the rack can handle changes in your workout routine.
Budget
1. Establish a budget range based on your financial resources and investment preferences.
2. Compare prices of different dumbbell racks. Consider factors such as material quality, brand reputation, and extra features.
3. Consider the long-term value and durability of the rack when assessing its cost-effectiveness.
4. Look for sales, discounts, or bundled deals. They will maximize savings but not reduce quality or functionality.
Got it! You’d like the outline for “VI. Maintenance and Care” repeated. Here it is:
Maintenance and Care Dumbbell Rack
Regular cleaning
1. Wipe down the dumbbell rack with a clean, damp cloth regularly to remove dust, dirt, and sweat residue.
2. Use a mild detergent or cleaner to remove stubborn stains or buildup, if necessary.
3. Pay special attention to hard-to-reach areas and corners to ensure thorough cleaning.
Inspection for damages
1. Regularly inspect the dumbbell rack for any signs of wear and tear, such as cracks, dents, or rust.
2. Check for loose screws, bolts, or fasteners and tighten them as needed to maintain structural integrity.
3. Replace any damaged or worn-out components promptly to prevent further deterioration.
Lubrication of moving parts (if applicable)
1. If the dumbbell rack has moving parts, such as hinges or slides, lubricate them often. This will keep them working smoothly.
2. Use silicone-based lubricant or light machine oil to lubricate moving parts. Avoid grease or oil-based lubricants. They may attract dust and debris.
3. Apply lubricant sparingly and wipe off any excess to prevent buildup and maintain cleanliness.
Regular maintenance and care of the dumbbell rack extend its life. They also make the workout area safe and fun.
Sure, here’s a general guide for installation and setup
Assembly Instructions and Tools Required
1. Read the manual. Start by fully reading the assembly instructions for your equipment. This will give you a clear understanding of the steps involved.
2. Gather Tools: Typically, you’ll need basic tools such as screwdrivers (both flathead and Phillips), wrenches, pliers, and possibly a hammer or rubber mallet.
3. Organize Parts: Lay out all the parts and hardware included in the package. This will help you identify each component and ensure nothing is missing.
4. Follow Step-by-Step Instructions: Assemble the equipment following the step-by-step instructions provided. Take your time and double-check each step to avoid mistakes.
5. Secure Fasteners: Make sure all nuts, bolts, and screws are securely tightened. Avoid over-tightening, as it could damage the equipment.
6. Test Functionality: Once assembled, test the equipment to ensure everything is working properly before moving on to placement.
Placement Considerations for Optimal Accessibility and Safety
1. Space Requirements: Ensure you have enough space to accommodate the equipment comfortably. Consider both the footprint of the equipment and the space needed for users to move around it safely.
2. Accessibility: Place the equipment in an area that is easily accessible to users. Avoid obstructing pathways or placing it in cramped spaces.
3. Ventilation: If the equipment generates heat or requires airflow for cooling, make sure it’s placed in a well-ventilated area to prevent overheating.
4. Stability: Ensure the equipment is placed on a level surface to prevent tipping or wobbling during use. If necessary, use leveling feet or shims to stabilize it.
5. Safety Clearance: Leave sufficient clearance around the equipment to prevent accidents. This includes both vertical clearance (e.g., overhead obstructions) and horizontal clearance (e.g., walls or other equipment).
6. Electrical Considerations: If the equipment requires electrical power, ensure there are outlets nearby and that the power cord is safely routed to prevent tripping hazards.
7. Weight Distribution: If the equipment is heavy or bulky, consider its weight distribution when placing it to avoid putting excessive strain on the floor or underlying structure.
8. Consider User Needs: Take into account the needs and preferences of the users when determining placement. For example, place cardio equipment near a TV or window for entertainment or distraction.
9. Safety Features: Familiarize yourself with any built-in safety features of the equipment and ensure they are functioning properly after installation.
By following these guidelines, you can ensure the proper assembly, placement, and setup of your equipment for optimal accessibility and safety.
Certainly, here are some additional tips and considerations
Organizing Weights by Size or Weight for Ease of Use
1. Weight Classification: Group weights together based on their size or weight category. For example, you could have separate sections for light, medium, and heavy weights.
2. Clear Labels: Use clear labeling or color-coding to indicate the weight of each set. This makes it easy for users to quickly identify the appropriate weight for their workout.
3. Accessible Placement: Place heavier weights closer to the workout area to minimize the need for users to move them across the room.
Labeling Racks or Sections for Quick Identification
1. Clear Signage: Label racks or sections with clear, easy-to-read signs indicating the type of equipment stored there. This could include labels such as “Dumbbells,” “Barbells,” or “Weight Plates.”
2. Color Coding: Consider using color-coded labels to differentiate between different types of equipment or weight categories.
3. Consistent Organization: Maintain a consistent labeling system throughout the gym to make it easier for users to navigate and find what they need.
Periodic Reassessment of Rack Capacity and Organization as Workout Routines Evolve
1. Regular Maintenance: Periodically assess the capacity and organization of your weight racks to ensure they meet the changing needs of your gym or workout space.
2. Adjustment as Needed: As workout routines evolve and equipment usage patterns change, be prepared to adjust the organization of your weight racks accordingly.
3. Flexibility: Keep your weight racks and storage systems flexible enough to accommodate new equipment or changes in workout routines.
Creative Storage Solutions and Customization Options
1. Wall-Mounted Storage: Utilize wall-mounted storage solutions such as pegboards, shelves, or racks to maximize floor space and keep equipment organized.
2. Modular Storage Systems: Consider investing in modular storage systems that can be customized and reconfigured as needed to accommodate different types of equipment.
3. Multi-Functional Furniture: Explore furniture pieces that double as storage, such as benches with built-in storage compartments for smaller equipment like resistance bands or exercise balls.
4. Vertical Storage: Make use of vertical space by incorporating tall storage racks or shelves to store equipment such as foam rollers, yoga mats, or jump ropes.
By implementing these additional tips and considerations, you can enhance the organization, accessibility, and functionality of your gym or workout space.
Conclusion
Recap of the Importance of a Well-Organized Dumbbell Rack
A well-organized dumbbell rack is not just a convenience; it’s a fundamental aspect of an efficient and safe workout environment. Here’s why:
1. Accessibility: A properly organized dumbbell rack ensures that users can easily find and access the weights they need, without wasting time searching or risking injury by reaching for weights in awkward positions.
2. Safety: By keeping dumbbells neatly arranged and securely stored, you minimize the risk of accidents such as tripping over scattered weights or dropping weights on yourself or others.
3. Efficiency: An organized dumbbell rack streamlines the workout process, allowing users to quickly transition between exercises and maintain momentum in their workouts.
4. Professionalism: A well-maintained and organized gym environment reflects professionalism and attention to detail, enhancing the overall experience for users and reinforcing your commitment to their fitness goals.
Encouragement for Maintaining and Caring for the Equipment
As with any investment, proper maintenance and care are essential for preserving the longevity and performance of your gym equipment. Here’s why it’s important:
1. Durability: Regular maintenance helps prevent wear and tear, prolonging the lifespan of your equipment and reducing the need for costly repairs or replacements.
2. Safety: Well-maintained equipment is safer to use, as it reduces the risk of malfunctions or accidents caused by neglected maintenance issues.
3. User Experience: Caring for your equipment demonstrates your commitment to providing a high-quality experience for your gym members, fostering loyalty and satisfaction.
4. Cost Savings: Investing time and effort into maintenance now can save you money in the long run by avoiding the need for expensive repairs or premature replacements.
By prioritizing organization, maintenance, and care, you can create a welcoming and safe workout environment that encourages users to achieve their fitness goals effectively and enjoyably.