
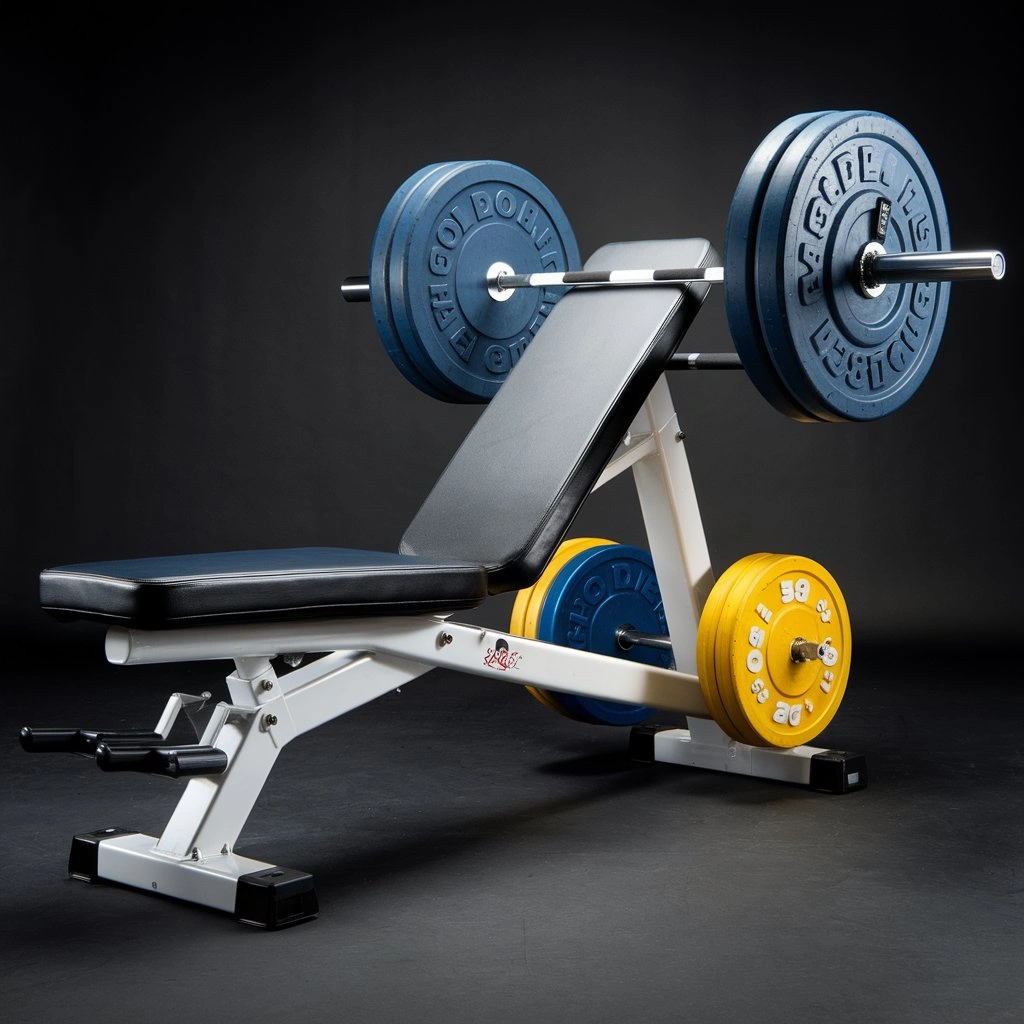
Unboxing and Inspection
- Prepare a Clear Space: Find a clear, big area. You can unbox the weight bench there. Make sure there’s enough room to lay out all the components.
- Gather Tools (if needed): Depending on the packing, you might need a box cutter or scissors to open the box. Ensure you have these tools handy.
- Unbox the Package: cut the packaging tape or remove any seals from the box. Open the box and remove the contents, placing them on the floor or a table nearby.
- Lay Out Components: Once the box is open, lay out all the components of the weight bench. This may include the main bench frame and adjustable seat. It also has a backrest, support bars, and hardware (such as bolts, nuts, and washers). It also has many more accessories or instruction manuals.
- Inspect Each Part: inspect each part for any signs of damage or defects. Pay close attention to welded joints. Also, inspect metal surfaces, plastic parts, and any moving parts. Look for scratches, dents, and cracks. Also, any other issues that could affect how the weight bench works or how safe it is.
- Check the Hardware: Verify that you have all the required components. Check that bolts, nuts, and washers are present and undamaged. Sometimes, small hardware items can get lost or misplaced during shipping.
- Refer to the Manual: Use it for any unboxing instructions or precautions. You can inspect the weight bench here.
- Note any Issues: If you find damage or defects during the inspection, document them now. Take photos if needed. Then, contact the maker or seller. Report the issue and arrange for a replacement or repair.
- Dispose of Packaging: Once you’ve finished the inspection and assembly (if needed), throw away the packaging. Do this following your local waste rules.
- Assemble the Weight Bench (if required): If it needs assembly, follow the manual’s instructions to put it together. Before using, make sure to tighten and align all components.
Read the Manual
As an AI, I don’t have the ability to locate or read manuals. But, I can give you general guidance. It is on how to assemble a weight bench. It follows typical procedures.
- Organize Your Space: Clear out a space large enough to assemble the weight bench. Make sure you have enough room to maneuver and lay out all the parts.
- Check the Parts: Lay out all the parts in the package. Compare them to the parts list in the manual to ensure nothing is missing.
- Read the Manual: If you have it, read through to understand the steps. Pay close attention to any warnings or special instructions.
- Prepare Tools: Gather all the necessary tools listed in the manual. True, you’ll need a set of wrenches, screwdrivers, and an adjustable wrench or pliers.
- Assembly Steps: Follow the step-by-step instructions provided in the manual. Start with the base frame. Then, work your way up, attaching each part as the manual instructs. Tighten the bolts, screws, and nuts . As you assemble the weight bench, this prevents wobbling.
- Double-Check After Assembly: Check all connections. Make sure everything is tight. This is crucial for safety reasons. Test the bench for stability before using it for workouts. Apply pressure to various parts of the bench. Ensure it can support your weight without any issues.
- Dispose of Packaging: Once assembly is complete, dispose of any packaging materials.
Prepare Your Workspace
Prepare your workspace for assembling the Gold’s Gym Adjustable Weight Bench. Follow these steps:
- Choose a Spacious Area: Pick a room or space in your home with ample room for the bench’s parts. A flat, level surface such as a garage, basement, or living room floor would be suitable.
- Clear the Area: Remove any obstacles or clutter from the chosen space to create a clear working area. This will prevent accidents and make it easier to maneuver around as you assemble the bench.
- Ensure Adequate Lighting: The area should be well-lit to help you see all the parts. This will help you avoid errors. If needed, set up more lighting, such as lamps or overhead lights.
- Gather the Needed Tools: Refer to the instructions to determine the necessary tools. Common tools may include screwdrivers, wrenches, and a rubber mallet. Have these tools available before you begin.
- Protect the Floor: Consider putting a mat or old sheet under the assembly area. This will prevent damage to the floor.
- Organize the Parts: Lay out all the parts of the weight bench in an organized way. Group similar pieces together. This will make it easier to find the parts you need. It will help avoid overlooking anything during assembly.
- Review the Instructions: Before starting, read the provided instructions or manual. Familiarize yourself with the steps. Make sure you understand each one before going on.
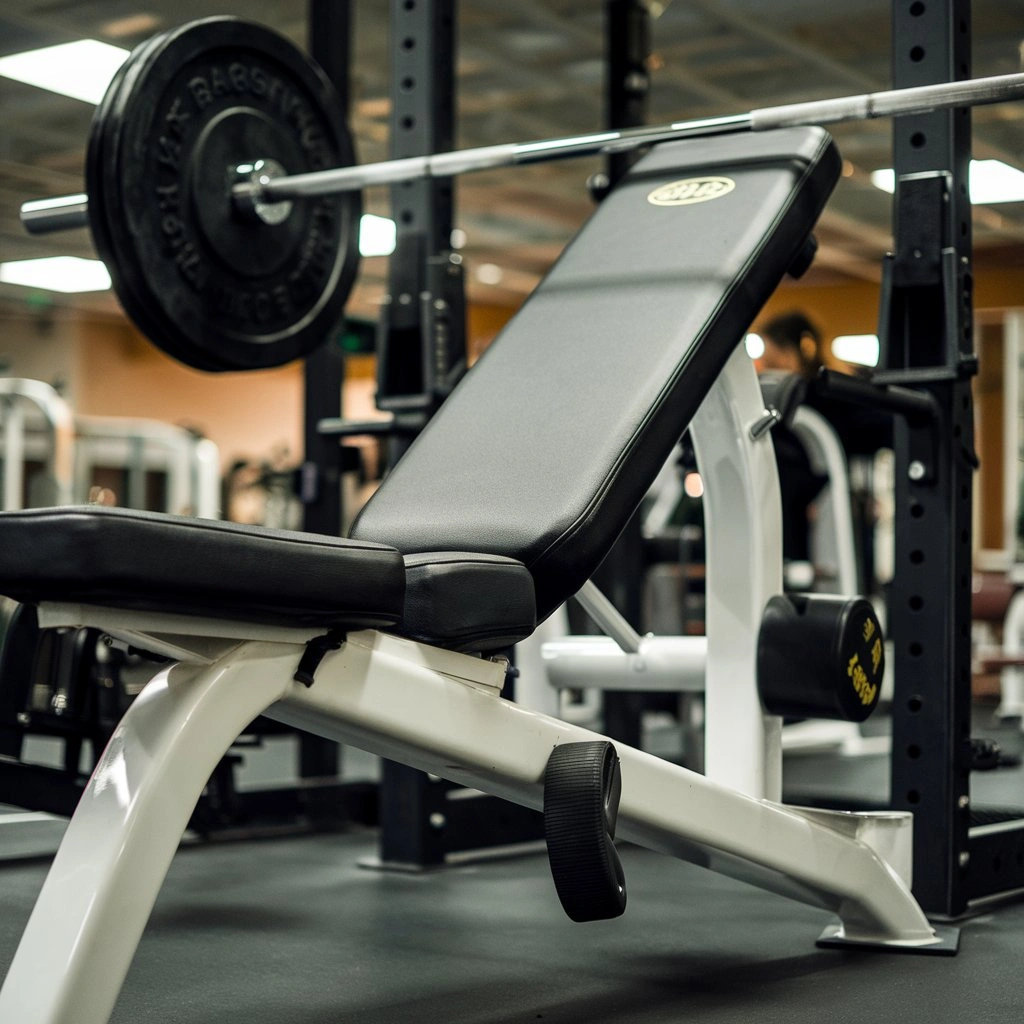
Assemble the Frame
To assemble the main frame of the Gold’s Gym adjustable weight bench, follow these steps:
- Gather Tools and Parts: Make sure you have all the parts and tools necessary for assembly. This usually includes bolts, nuts, and washers. It also includes the manual for the weight bench.
- Identify Parts: Lay out all the parts. Identify the backrest, seat, and base frame parts as in the manual.
- Attach the Backrest to the Seat: The backrest will have pre-drilled holes where it attaches. Line up these holes and use the provided bolts, nuts, and washers to secure them together. It’s usually easier to attach the bolts first and then tighten them once all bolts are in place.
- Attach Seat to Base Frame: Once the backrest is on the seat, align the seat with the base frame of the weight bench. Again, use the provided bolts, nuts, and washers to secure the seat to the base frame. Make sure to tighten all bolts to prevent any wobbling or instability.
- Check Stability: After making the main frame, double-check all connections. Be sure they are tight and secure. Shake the bench to ensure there is no excessive movement or instability. If necessary, tighten any bolts that may have loosened during assembly.
- Follow the Manual: Always refer to the manual for your Gold’s Gym weight bench. It has specific instructions. These steps can guide you through assembly. But, the manual will have detailed guidance. It will cover any unique steps or precautions for your model. Inspect the weight bench once you have assembled the main frame for final inspection. Ensure that you build it. Test the change mechanisms if applicable, and make any final adjustments as needed.
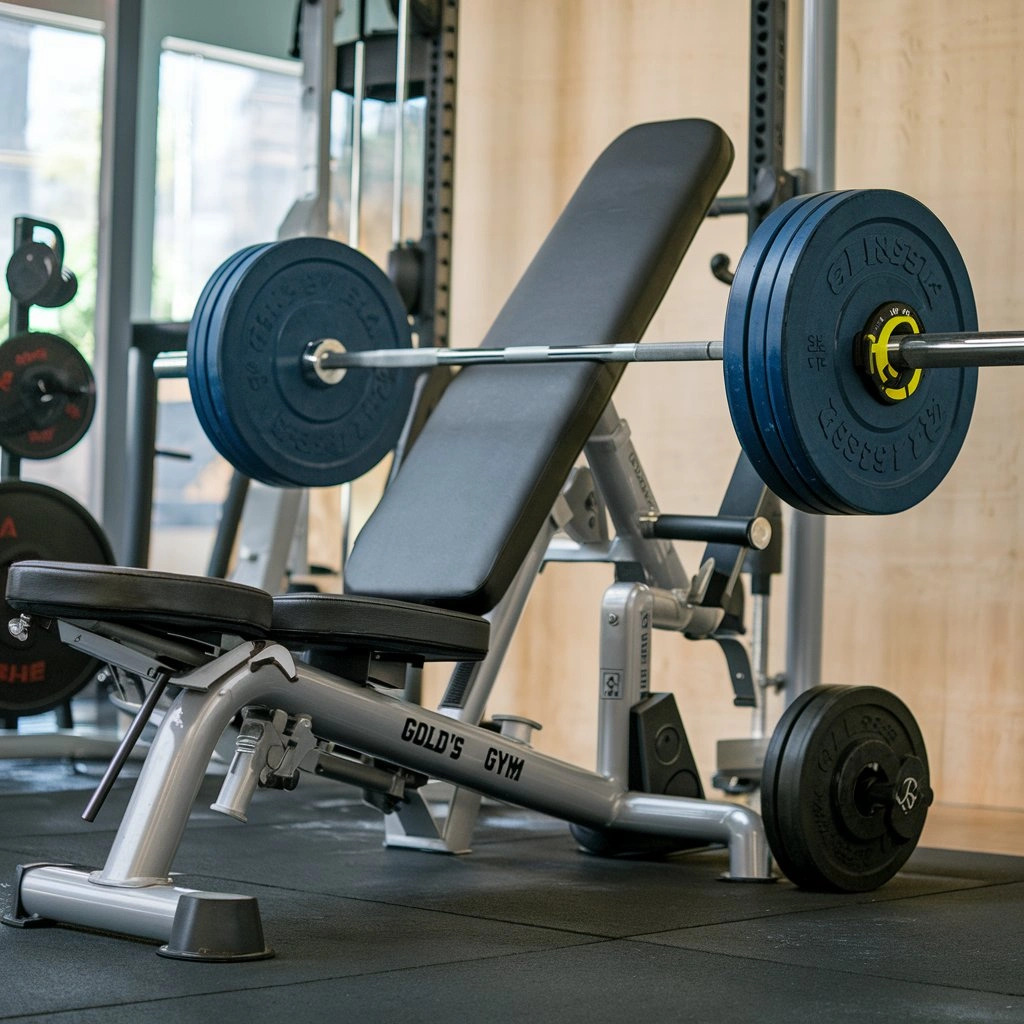
Attach the Adjusting Mechanism
Attach the adjusting mechanism to your Gold’s Gym adjustable weight bench. Follow these steps:
- Gather Tools: Before you start, ensure you have all the necessary tools for assembly. This includes a screwdriver and wrenches. It also has any other tools listed in the instructions.
- Position the Bench: Place the weight bench on a flat surface where you have ample space to work around it.
- Locate Adjusting Mechanism: Identify the adjusting mechanism provided with your weight bench. It should consist of parts that allow you to adjust the incline of the bench.
- Align the parts. Align the mechanism with the mounting points on the bench. These mounting points are usually pre-drilled holes or slots.
- Secure the bolts or screws. Insert them through the holes in the adjuster into the matching holes in the bench. Use the provided nuts or washers to secure them .
- Tighten : Use your tools to tighten all screws and bolts. Make sure everything is snug to prevent any wobbling or instability during use.
- Test the adjuster. Once it’s attached, test it by adjusting the bench’s incline to different angles. Ensure it moves and locks into place Good at each angle.
- After installation, double-check that all screws and bolts are still tight. Also, check that the adjusting mechanism and bench frame are not wobbling or unstable.
- Follow the manufacturer’s instructions. Always use Gold’s Gym’s instructions for your model of weight bench. These instructions may contain model-specific details or variations in the assembly process.
- Check the adjusting mechanism and attached hardware often. Make sure they remain fastened. If you notice any looseness or instability, tighten the screws and bolts as needed.
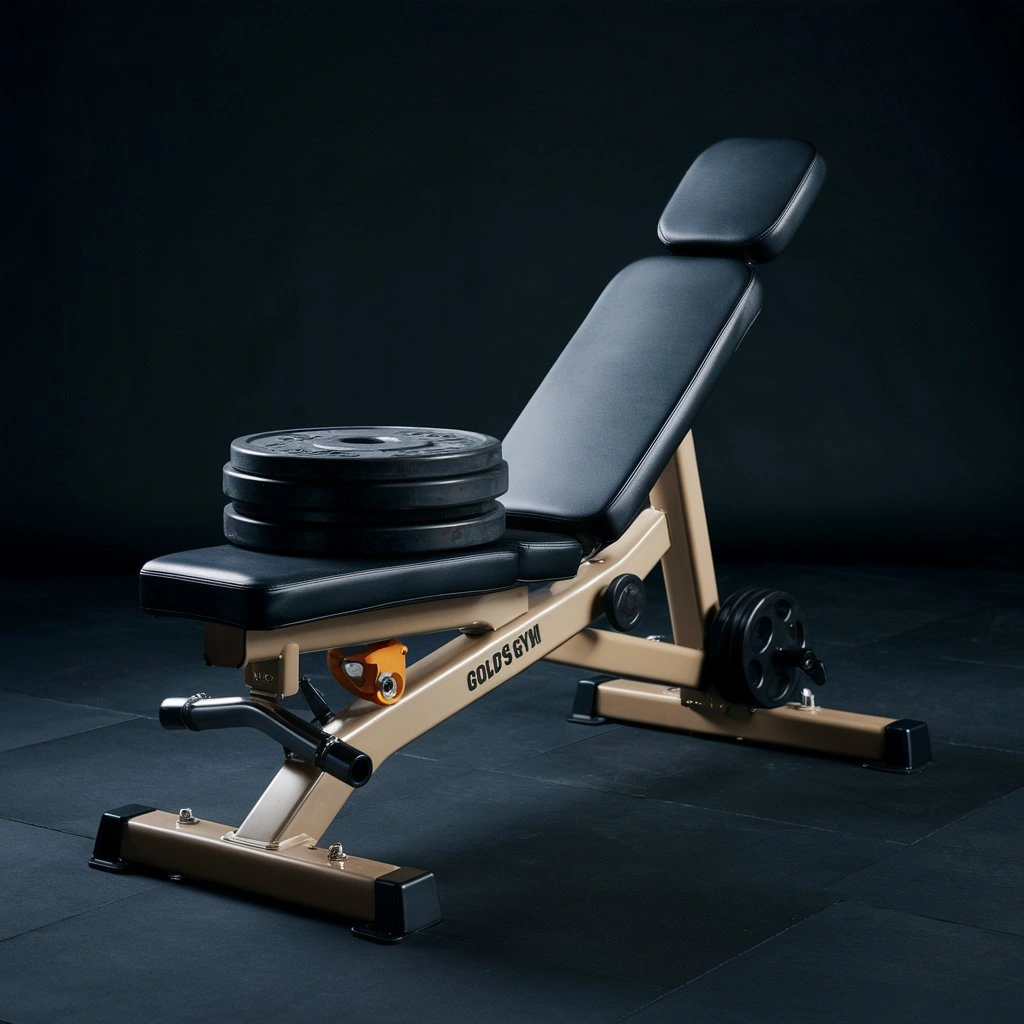
Add the Padding and Upholstery
Follow these steps to add the padding and upholstery. Do it to your Gold’s Gym adjustable weight bench.
- Prepare the padding. Lay out the foam pieces. They are for the backrest and seat of the bench. Make sure to position and align them with the respective areas.
- Attach the Padding. Use adhesive or the method in the bench’s instructions. Secure the foam to the backrest and seat. Make sure the padding is fast attached. It should be level spread for comfort and support.
- Prepare the Upholstery. Lay out the fabric. Ensure it is clean and free of wrinkles. Position it over the foam padding. Be sure there is enough fabric to cover the whole surface and wrap around the edges.
- Wrap and secure the upholstery. Sure wrap the fabric around the foam, starting from one side. Then, work your way around. Smooth out any wrinkles or folds as you go to ensure a neat and even appearance.
- Secure with Straps or Fasteners. Depending on your bench’s design, use the provided straps, fasteners, or other mechanisms. Use them to hold the upholstery. These may include Velcro straps, buckles, or other types of fasteners. Follow the manufacturer’s instructions for attaching the upholstery Good.
- Adjust and Tighten: Once the upholstery is in place, adjust it as needed. Do this to ensure a snug fit and proper alignment. Double-check that all straps and fasteners are tight. This prevents movement while using it.
- Inspect for Quality: After the process, Sure check the padding and upholstery. Ensure they tag and defect-free. Make any necessary adjustments or corrections as needed.
Install Accessories (if any)
To install add on a Gold’s Gym adjustable weight bench, such as leg user or a pastor curl link, follow these steps:
- Refer to the Manual. Start by reading the manual for your weight bench. The manual should include detailed instructions. They should cover how to assemble and attach any accessories that come with the bench.
- Identify the Accessories: Locate the specific accessories included with your weight bench. This could include items like leg developers or preacher curl attachments. It can include any other accessories mentioned in the manual.
- Prepare the Bench. Adjust the weight bench to a good position for attaching the accessories. Ensure that the bench is stable and secure before proceeding.
- Assemble the Accessories. If they need assembly, follow the manual’s instructions to put them together properly. Use any tools or hardware included with the accessories for assembly.
- Attach the accessories. Do this after you assemble the weight bench. Do it according to the instructions in the manual. This may involve using screws, bolts, or other fasteners. They use them to secure the accessories in place.
- Test for Stability: After adding the accessories, test the bench’s stability. Make sure that everything is attached. Make any necessary adjustments to ensure a safe and stable workout environment.
- Follow Safety Guidelines. Always use the safety guidelines in the manual. This is when using the weight bench or any attached accessories. This includes using proper form during exercises. And, not going over the recommended weight limits for the bench and accessories.
- Do regular maintenance. serial check the attachments and fasteners. Make sure they stay secure and in good shape. Tighten any loose screws or bolts as needed, and replace any worn or damaged parts.
Final Check
Are you excited about setting up your new Gold’s Gym adjustable weight bench? Great! Let’s make sure we do it right. Here’s a final check to ensure everything is safe and secure:
- Double-check the connections. After assembling everything, take a moment to look over all the pieces. Make sure they’re connected right and make. You don’t want anything wobbly!
- Tighten Fasteners Check all the screws and bolts. Give them a little twist to make sure they’re nice and tight. This helps keep everything in place while you’re working out.
- Test for Stability push on different parts of the bench to see if it wobbles or shakes. A stable bench is important for your safety while lifting weights.
- Adjusting Mechanism Try out the adjusting feature to make sure it works easy. You want it to move soft but also stay in place when you’re using it.
Cleanup
Cleanup Instructions
- Dispose of any packaging materials such as cardboard boxes, plastic wrap, or styrofoam.
- Gather any loose items, like screws, nuts, or bolts. Store them in designated containers or bags.
- Wipe down the weight bench and any surrounding surfaces with a clean cloth to remove any dust or debris.
- Organize the tools and equipment used during assembly. Then, return them to their proper places.
- To ensure you don’t leave any small pieces or debris behind, vacuum or sweep the area.
- Double-check the assembly of the weight bench. Ensure that you secure and tighten all parts.
Safety Guidelines Review
- Locate the manual provided with the weight bench.
- Read through the safety guidelines to familiarize yourself with proper usage and precautions.
- Pay close attention to weight limits, proper form, and recommended exercises.
- Put the weight bench on a stable, level surface. This will prevent tipping or instability during use.
- Always use a spotter when lifting heavy weights to prevent injury.
- Adjust the bench settings for your height and comfort. Do this before starting your workout.
- Keep children and pets away from the weight bench during use to avoid accidents.
- If you feel pain or discomfort while using the weight bench, stop right away. Then, ask a healthcare professional for help.
- Even check the weight bench for wear or damage. Stop using it if you find any issues. Wait until you fix or replace them.
- Follow the manufacturer’s safety instructions. They will ensure safe and effective workouts.
To use the Gold’s Gym adjustable weight bench, you must know its weight limits and how to use it. Here are some general tips to help you prevent accidents or injuries:
- Check the Manufacturer’s Guidelines or user Manual: They will tell you the weight limit for the bench. Exceeding the weight limit can weaken the bench. It also raises the risk of accidents. Always stay within the specified weight limits when using the bench.
- Assemble It: Use the manufacturer’s instructions. Tighten all bolts and screws to prevent instability during use. Check the bench often for loose or damaged parts. Make any needed repairs or replacements right away.
- Learn the weight bench’s change settings: They include incline, decline, and flat positions. Always adjust the bench to the desired position before starting your workout. Avoid making adjustments while holding weights to prevent accidents. Maintain proper form while using the weight bench. It reduces the risk of injury. Use controlled movements and avoid jerking or swinging weights. Keep your back supported and aligned with the bench. This prevents strain. When lifting heavy loads, especially during bench press, you should have a spotter nearby. A spotter can help you lift the weight and provide help if you’re unable to complete a rep.
- Warm up First: Do it right. It prepares your muscles and joints for exercise. This can help reduce the risk of injury and improve performance during your workout. Finish your workout with a cool-down. It will lower your heart rate and stretch your muscles. This can help prevent muscle soreness and promote recovery after exercise.
- Listen to Your Body: Pay attention to your body’s signals during your workout. If you feel pain or discomfort, stop the exercise right away. Seek guidance from a fitness or medical professional if needed.